Serendipity
I pity my cat.
Every day he eats the same chicken kibble--crunch, crunch, chew, chew. Day in and day out he always knows that breakfast, lunch, and dinner will be served at precisely the same time....and he will receive precisely the same thing, day after day after day.
Despite the obvious luxuries of sleeping 20 hours a day, not paying rent, and "owning" the entire universe, I could not be a cat.
I love diversity. I love surprise.
And when cooking, I love to create contrasts in the foods I serve to my friends and family. Pairing creamy with crunchy, or sweet with savory is what makes food interesting and enjoyable. Even the lowly scoop of vanilla ice cream is elevated (no pun intended) when placed atop a crisp waffle cone.
Last evening I experimented for my family and found a serendipitous combination of sweet and savory that they raved about.
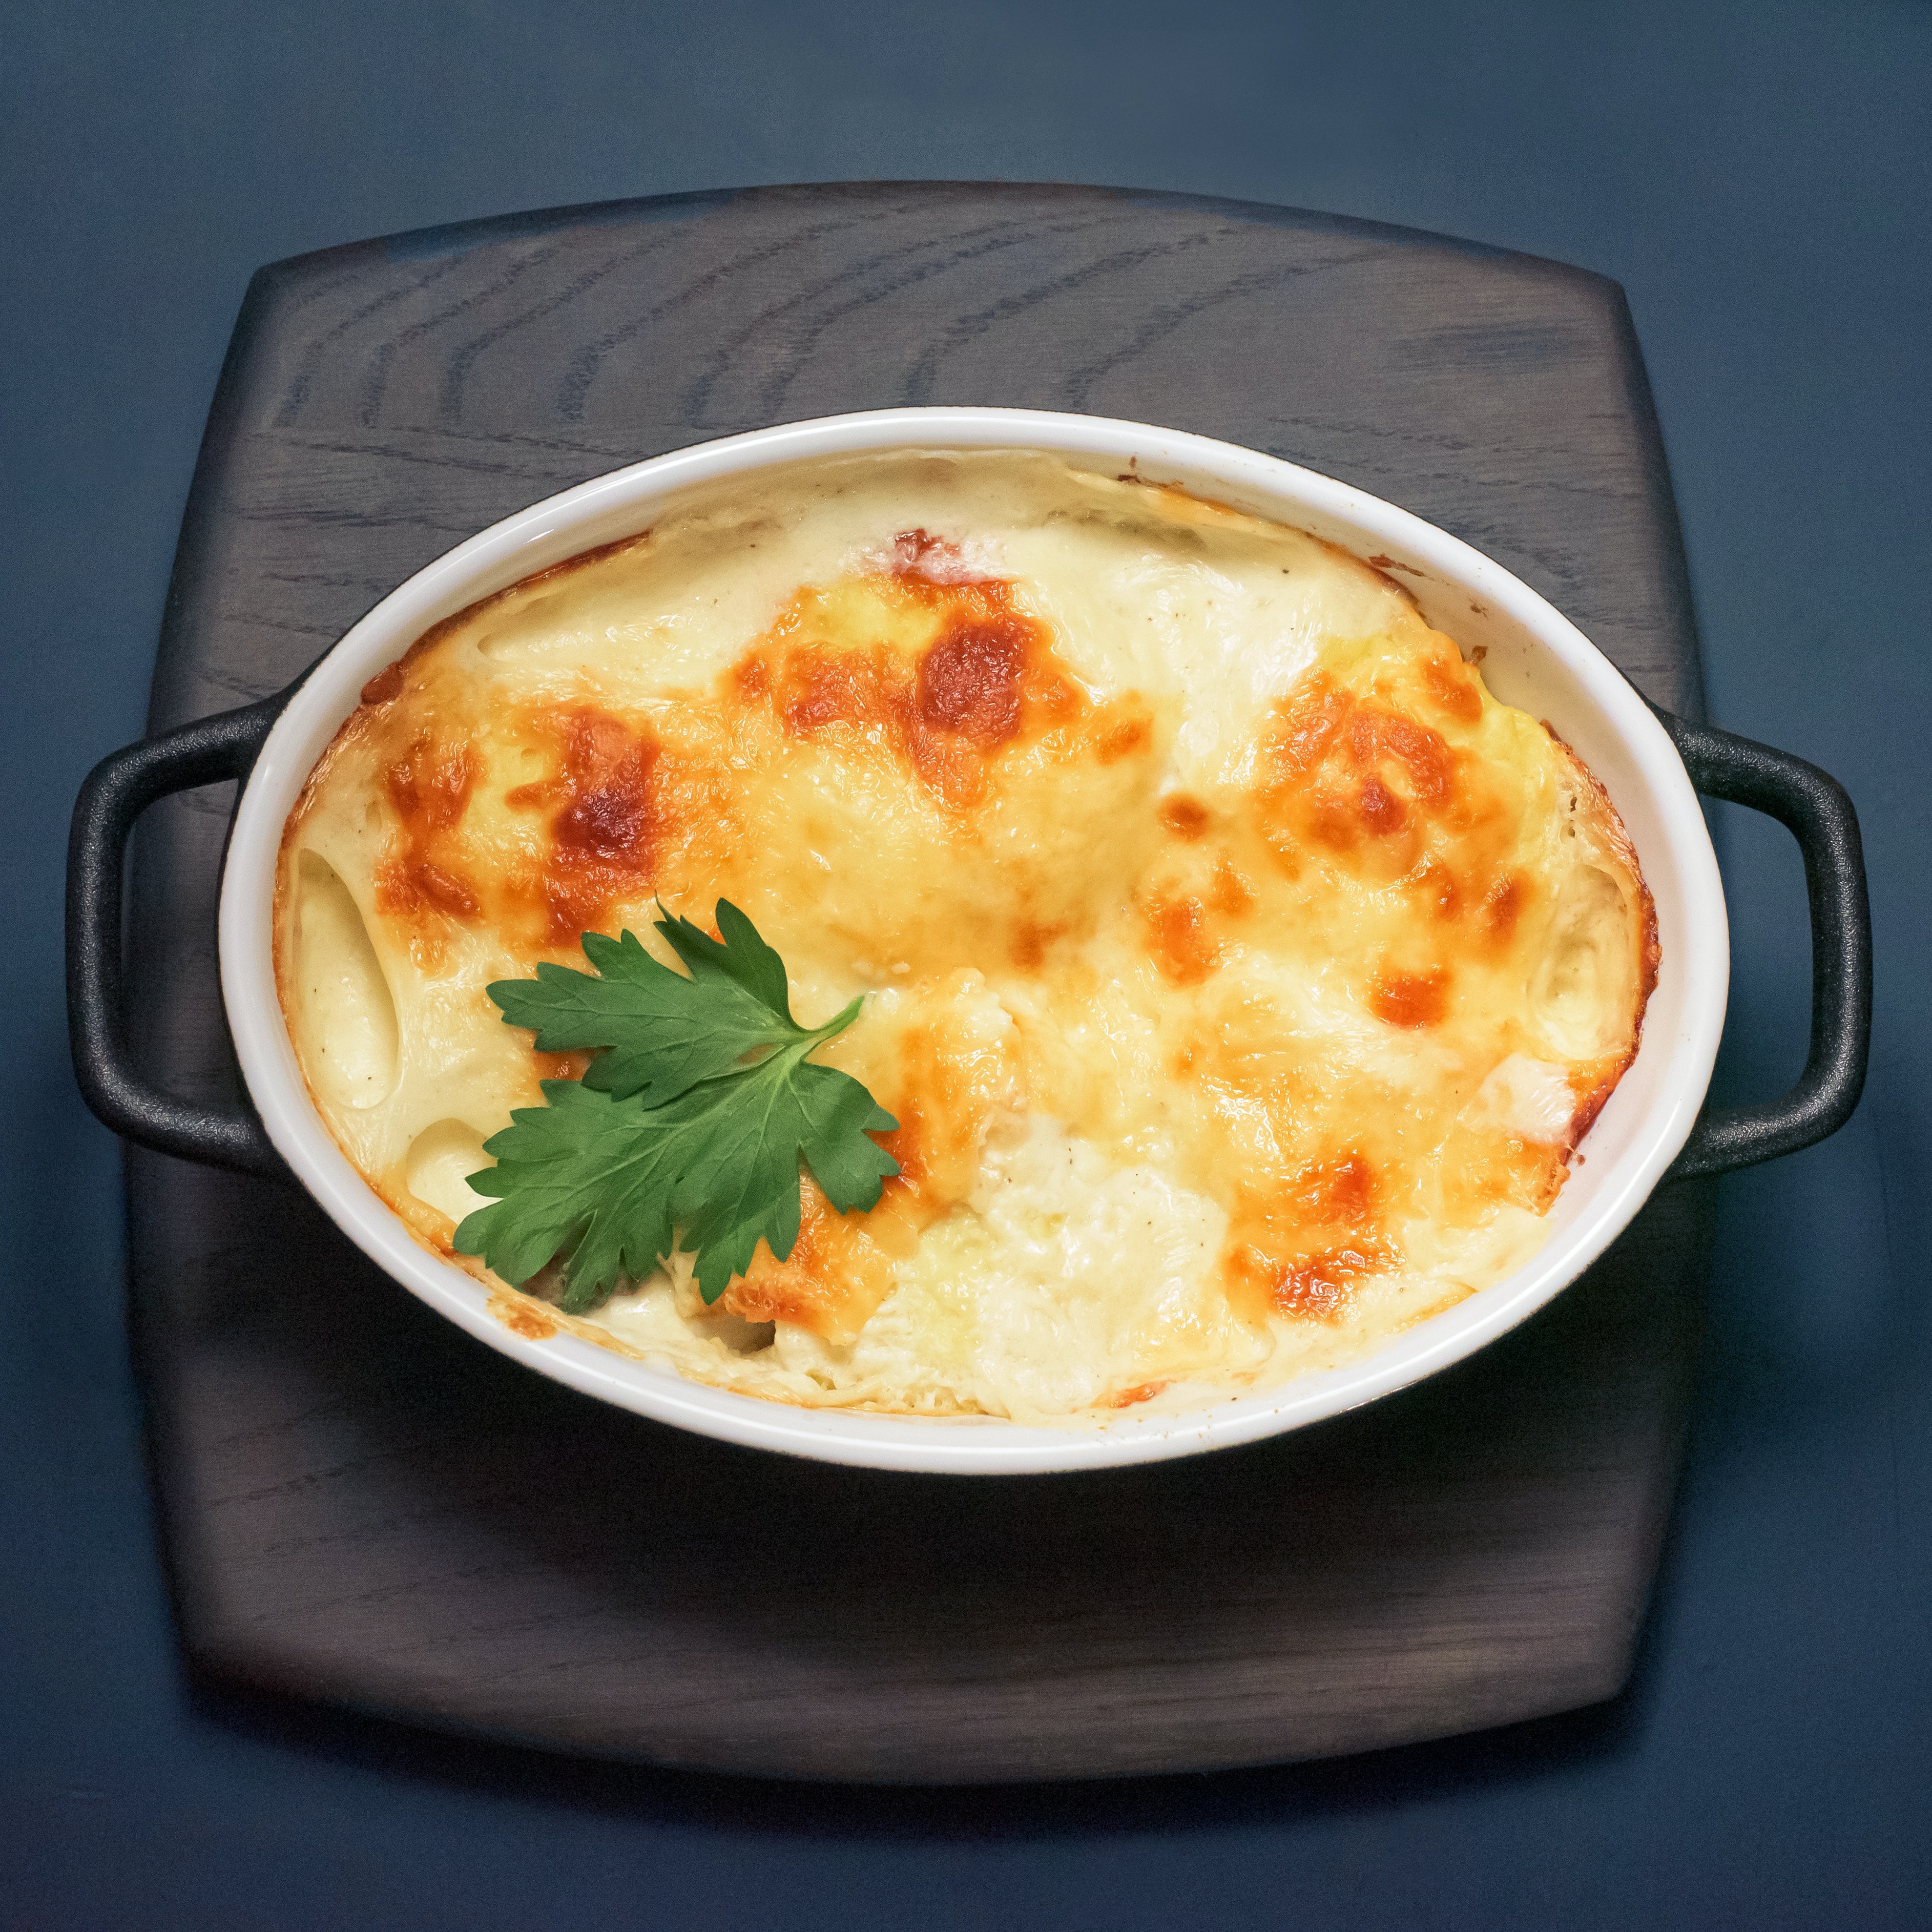
Butternut Squash Lasagna with Fennel and Gorgonzola
Cook Time
Prep time: 30 min
Cook time: 20 min
Ready in: 50 min
Yields: 4 servings
Equipment You Will Need
- Large pot for boiling water to prepare pasta sheets
- Large (10- or 12-inch) sauté pan
- Large-rimmed baking sheet
- Parchment paper
- Sharp knife and cutting board or mandolin for slicing
- Four 8-ounce ramekins
Ingredients
- 4 tablespoons unsalted butter, divided
- 2 cups (1 large bulb) fennel, thinly sliced (reserve green fronds for another use)
- 1 medium onion, thinly sliced
- 2 cups butternut squash, peeled, seeds scooped out, and thinly sliced
- 1/2 pound cremini mushrooms, sliced
- 1/2 pound chanterelle oyster mushrooms, wiped clean and sliced
- 2 tsp. garlic, finely minced
- 2 tsp. fresh rosemary, finely minced
- 1 jar Alfredo sauce
- 1 package of no-boil lasagna noodles, (see note below for specific instructions on how to prepare for this recipe)
- 1 cup Parmesan cheese, shredded
- 1/4 cup Gorgonzola cheese, crumbled
- Preheat oven to 425 degrees F. Line a rimmed baking sheet with a sheet of parchment paper.
- Place the sliced squash in a single layer on the baking sheet. Bake for about 10 minutes or until tender and the squash begins to brown. Remove from oven and set aside.
- While the squash is baking, heat the sauté pan over medium-high heat. Add 2 tablespoons of the butter; when the butter has melted and begins to foam add fennel and onion. Sauté until fennel and onions are softened and begin to brown. Remove the fennel and onion to a bowl and set aside. Return sauté pan to heat.
- Add the remaining 2 tablespoons of butter to the pan. When melted add the mushrooms, garlic, and rosemary; stir until the mushrooms release their moisture and begin to brown. Remove from heat.
- Now begin to assemble the ramekins. Place the ingredients in each ramekin as listed below:
- 1 tablespoon of Alfredo sauce in the bottom of each ramekin, then 1 lasagna square.
- 1/4th of the squash mixture is followed by 1 tablespoon of sauce and 2 tablespoons of Parmesan cheese.
- Another lasagna square, followed by 1/4 of the fennel/onion mixture. Top with 1 tablespoon of sauce and 2 tablespoons of Parmesan cheese.
- Another lasagna square, followed by 1/4th of the mushroom mixture. Top with 1 tablespoon of sauce.
- One last lasagna squared followed by 3 tablespoons of the Alfredo sauce and 1 tablespoon of the Gorgonzola.
- Place in oven and bake 20 minutes or until bubbling. Remove from oven. Allow it to sit for 5 minutes before serving.
About "cooking" those no-boil lasagna noodles
Yes, I know--no-boil lasagna noodles are promoted as "no cook". However, if you want to use them in individual-serving dishes (as we do in this recipe), you need to be able to cut them into smaller pieces. Here is how you do it:
- Bring a large pot of water to boil
- When the water is boiling, turn off the heat
- Drop the lasagna sheets into the pot of hot water.
- Set your timer for 10 minutes.
- After 10 minutes your pasta sheets will be pliable--al dente--ready to cut to size for your individual-serve ramekins.
A Few Words about Blue Cheese
Blue cheese has a distinctive, pungent taste, but not all blue cheeses are created equal. The most popular blue cheeses are Cambozola, Gorgonzola, Maytag Blue, Roquefort, and Stilton.
- Cambozola is a German cheese. Unlike other blues, it is creamy and has a much milder flavor. If you are a blue cheese newbie, this might be a good one for you to start with.
- Gorgonzola is the blue cheese of Italy. Italian-made Gorgonzolas (Gorgonzola dolce) are creamy and mild; domestic versions made in the United States are sharper and more crumbly.
- Maytag Blue is an American blue cheese--it is quite crumbly and pungent.
- Roquefort is a French sheep's-milk cheese and is considered to be one of the finest of the blue cheeses.
- Stilton is made in England. It's firmer and milder than Roquefort or Gorgonzola.
A Few Suggestions
- I have a friend who does not like squash. The amount of mushrooms and/or fennel could be increased, or one could substitute carrots for the squash. Slice them thinly on the diagonal and cook for 2 minutes in boiling water before roasting in the oven.
- Want to add a bit of crunch? After the lasagna is baked, top each serving with some toasted hazelnuts or pecans.
- Gotta have meat? Crisp cooked crumbled bacon can be added to each serving after removing from the oven.